WIRING DIAGRAM FOR 1984 YAMAHA XT600
SPECIFICATIONS
7 DEC 2003
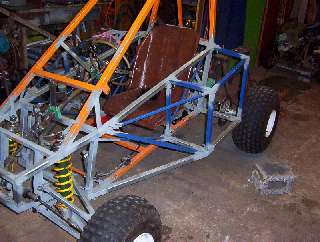
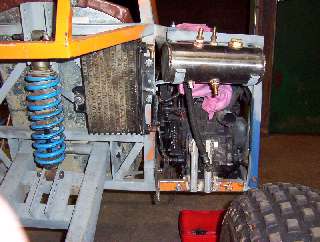
Side pods constructed to hold fuel tank, Oil tank constructed from 316 stainless steel
battery and other things. and nearly mounted. Commodore auto-
transmission oil cooler.
The XT600 engine has a dry sump arrangement and is fitted with a small oil cooler (6" x 2") and also has a separate oil tank. The old oil tank is quite long so I have made a shorter one out of a bit of 4" stainless steel tube, 10" long. The capacity is 2 litres (1/2 Gallon), about the same as the original. The inlets/outlet/filler are brass B.S.P. reducing bushes, silver soldered in place. The new oil cooler is approx. 10" x 5" and will have two small 12 volt fans mounted behind it.
29 DEC 03
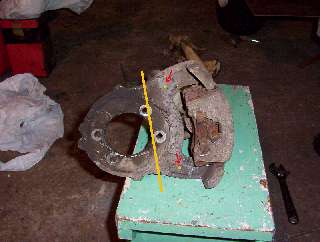
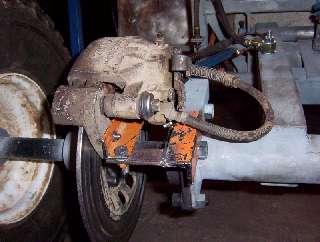
Brake caliper Mounted on Axle
I have used a rear caliper off a Mitsubishi Magna. It even has a lever for a hand brake. The whole caliper and backing plate is made of aluminium and is very light. I purchased two from the Trumps car wrecking yard in Wynyard for $10. They even threw in the hand brake cable. They have lots of them and virtually no demand, hence the low price. For another $5 I got about 4 metres of steel brake line and enough fittings for the ends. The line can be joined using 1/4" copper tube and silver soldering using a mini butane blowtorch. In the first photo I have drawn a line where I cut the the bottom end of the backing plate off. I then mounted it to some 25 mm x 3 mm angle iron using countersunk head screws as shown in the second photo. See pics down the page.
29 DEC 03
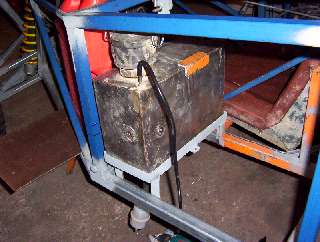
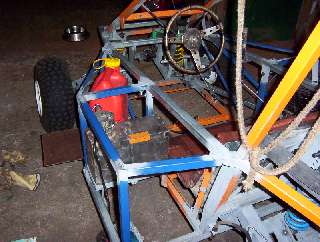
Fuel tank
Old fuel tank resurrected, 7 litres and will be able to carry a jerry can as well.
5 JAN 04
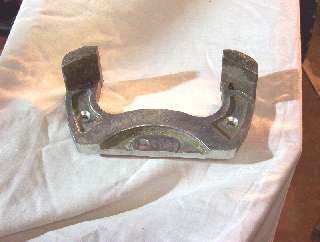
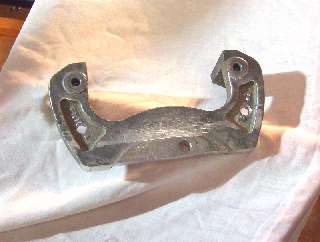
The other photos of the cut down caliper backing plate
The pic on the right shows where the aluminium backing plate was machined off using a cut off 3/8" drill in a drill press, then filed up to give a flat area for the angle iron to sit. Also the 5/16" countersunk head allen key screws are used in the new holes.
9 JAN 04
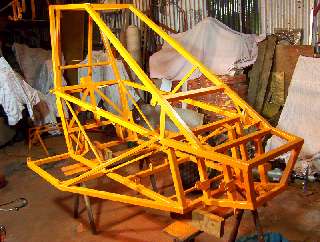
Frame painted
The paint is drying - I used 3/4 of a litre of X15 orange. The colour does not show up very well under artificial light. Will paint the suspension parts black.
16 JAN 04
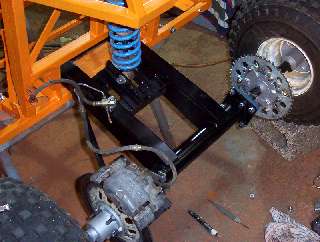
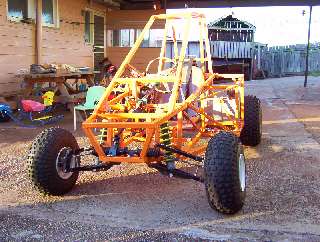
Back end going back together All back together
Will put better photos on soon - the late afternoon sun makes for poor photos ( taken about 8:00pm )
The engine fired up first kick after fixing the dodgy connection on the coil primary. The oil cooler and fans work a treat. The oil stays very cool.
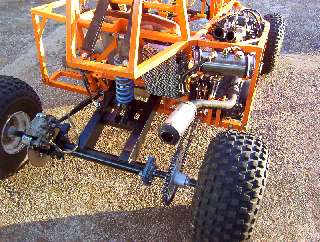

Back end Our first drive and victim
It made up the back yard under its own power
21 JAN 04
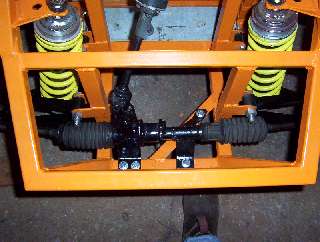
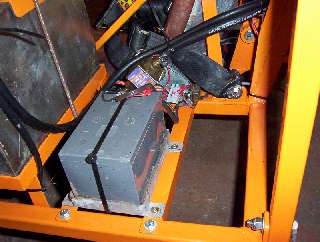
Top view of shortened Escort rack Battery and fuel pump
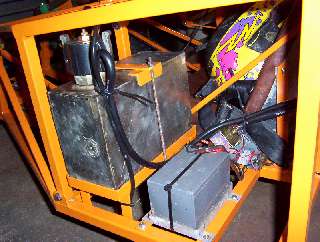
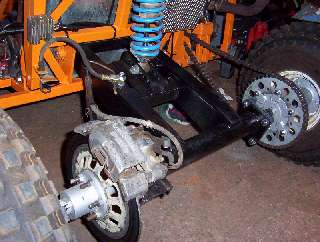
Fuel tank Regulator (top left)
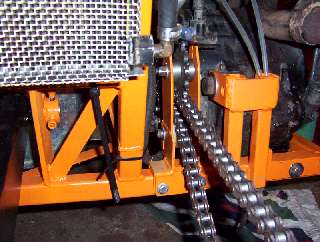

Chain guide and tensioner Oil cooler covered in mesh
Used an old sprocket to pull chain down closer in line with swing arm pivot. Turned up two bushes to take 608 ball bearings to support sprocket. There are 4 holes to allow adjustment up and down . The bottom guide roller is a nylon roller also turned up to take two 608 ball bearings and is fitted into a slotted hole to give fine adjustment. There is more strain on the top roller, therefore the 4 fixed position holes. The oil cooler is covered in mesh to protect from rocks thrown up from the back wheels. The two 120 mm 12 volt fans ($23 each from Altronics) suck air from behind the seat and blow though the cooler. This works extremely well and the oil remains very cool.
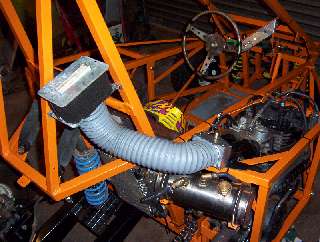
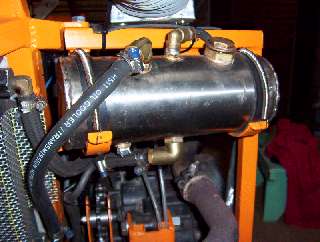
Ugly air filter Oil tank
A bit of 3" ducting is fitted on to the two original air pipes and I have used the original filter from the XT600 in a spring loaded sandwich to keep it sealed. I am thinking about changing to a pod filter in the same position. The oil tank is sitting in its holder on rubber strips and held in position with a couple of springs.
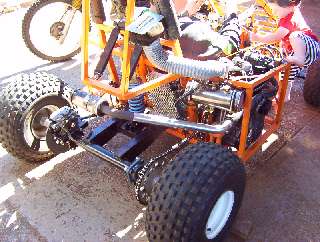
Exhaust system
I have re-used the original muffler and added a short piece of new pipe to bring it around to the back.
After a quick 5 minute drive on the local reserve I am impressed with the smooth ride, and the power of this machine. With only 100 x 20 metres of undulating ground to play with, I managed to get peak revs in 3rd gear, get airborne and stop again. Can't wait to get out again. Anybody building a Sidewinder should enjoy a very similar experience.
25/Jan/04
Ok, Have been out again and all ran well, however the bearing bushes holding the idle sprocket failed after a couple of runs. There was not enough meat in the section centering the sprocket. Performance wise the "X-15" had plenty of power and the handling was good but I have not been into any rough tracks yet.
7/March/04
I have just modified the upper rear suspension mount to allow the fitting of a new rear spring and shock, and make a little bit more room for the seat. It needs a bit more suspension travel and be slightly stiffer. I am still using the XT600 mono shock but now have room to install a longer unit with more travel. I just have to make the necessary calculation for the new spring rates.
19/March/04
Since test firing up the "X-15" after the mods, I have found that my battery is at the end of its life and won't run the fuel pump and that the Rectifier/Regulator has failed. After pricing second hand and new R/Rs, I decided to make a R/R and after doing a bit of research, am close to perfecting the design. A saving of about $50 over a second hand R/R. Might get out next weekend for a run as it has been a while. I had a knee op at the end of Jan and the started the mods after I got back on my feet. Hope to get some good action pics as well. A film clip would be nice but I need to get a loan of a VCR for that.
28/March/04
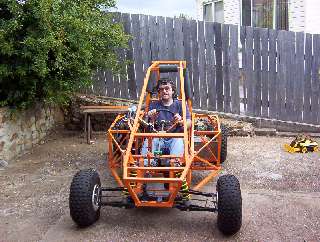
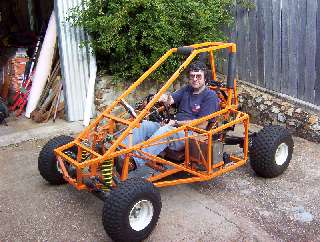
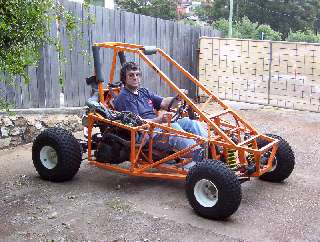
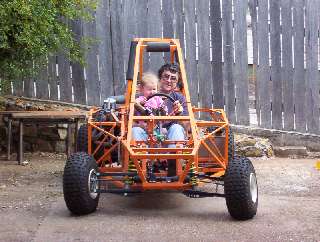
Just a few photos at different angles of the X-15, me and grand-daughter
I have an new battery ( 7 amp/hour ) and the home-made regulator is working, BUT after all my work and research I have found that the alternator winding is faulty with a short to earth ( rewind quoted at $270 ) however it is still charging. I will need to get one eventually. Have solved alternator winding problem, I fitted a toroidal isolation trasformer (1:1) These transformers are lighter than iron core transformers and less lossy at higher frequencies.
21/July/05
Due to an incident earlier in the year that exposed the slight weakness of the top front
shock/spring mounts, I have re-designed them and made changes to increase the stiffness
and the amount of travel. The shocks were somewhat longer than the springs which
resulted in the shocks bottoming out and bending the mounts and the shocks.
The new top housings allow the shock to be more extended so the springs take more load.

View after old mounts removed
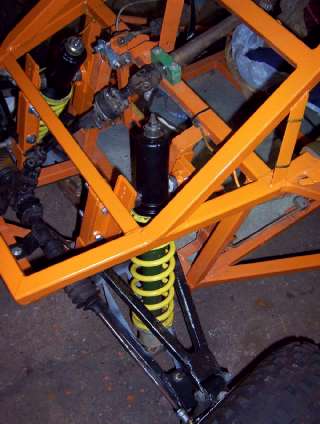
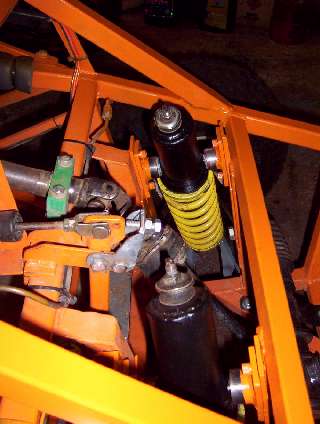
Side view of finished mounts
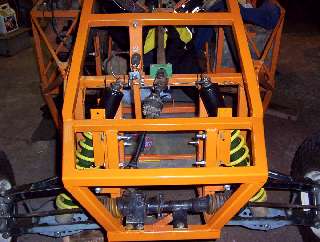
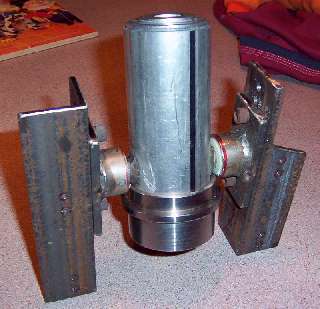
Front view of finished mounts The whole spring stop/shock extender assembly
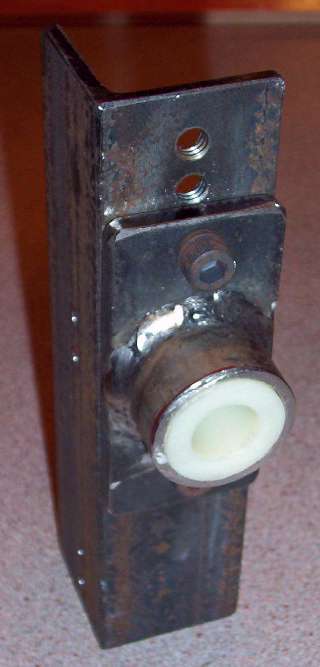
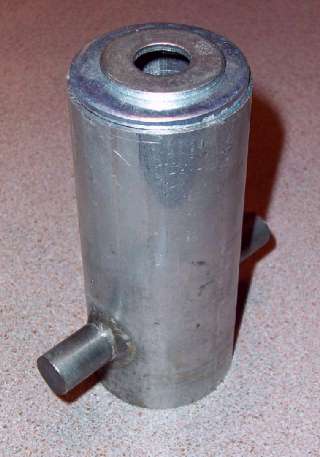
Mount to be bolted to frame Shocker extender section
1" N.B. stainless pipe welded to flat plate and bolted to angle iron with 5/16 caphead bolts.
2.25" heavy gauge exhaust tube with 5/8" round stubs welded on. The washers on top are yet to be welded.
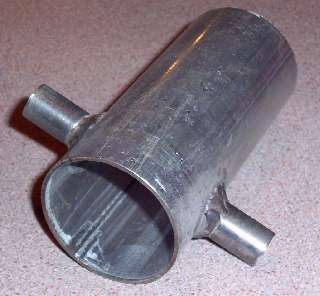
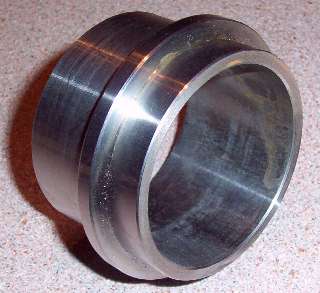
Shocker extender section Spring stop
CURRENTLY WORKING ON:
making good videos.
STILL TO DO:
Head restraint
Panel work
and more no doubt.
NEXT PAGE
PAGE BACK
HOME


